Why Proper Drying Is Crucial in Dog Grooming
Discover a detailed guide for dog grooming covering all essential steps for a stress-free experience and a beautiful coat.
The Technical Dog Grooming Blueprint: A Step-by-Step Guide for Detail-Oriented Dog Owners
If you love understanding the “why” behind every bath, brush, and trim, this guide is for you. At Dapper Doodle Grooming in Springfield, MO, we believe a thoughtful, technical approach creates the most comfortable experience and the best results for your dog’s coat and skin. Below, we break down the professional dog grooming process step-by-step—from the initial assessment to finishing touches—so you know exactly what goes into safe, stress-aware, and beautiful grooming.
While this guide shares professional detail, it isn’t a substitute for hands-on training or veterinary advice. When in doubt, ask your groomer or your veterinarian, especially for sensitive skin, chronic ear issues, or mobility concerns. Our team is here to help with full-service dog grooming, dog baths and blowouts, de-shedding treatments, puppy introductions, senior dog grooming, and breed-specific haircuts in Springfield, MO.
Step 1: The Pre-Groom Assessment
Every great groom starts with a calm, thorough check. This guides tool selection, timing, and safety planning for your dog.
- Behavior and stress check: Read your dog’s body language—ear position, tail carriage, lip licking, yawning, and stiffness. Sensitive or anxious dogs benefit from a quieter setup, slower introductions, and frequent breaks.
- Coat mapping: Identify coat type (smooth, double, curly/wavy, wire, or mixed). Note matting, impacted undercoat, hot spots, burrs/foxtails, or areas of thinning. Plan humane de-matting limits and tool selection.
- Skin and health scan: Look for redness, bumps, dandruff, parasites, tenderness, or unusual odors. Groomers can clean and comfort but don’t diagnose; for medical concerns, consult your vet.
- Nail length and foot check: Evaluate nail quick length, dewclaws, and paw pad hair. Long nails affect posture and comfort, and often require gradual shortening over multiple sessions.
- Ear and hygiene areas: Check for wax, odor, visible debris, and under-tail hygiene. Note your dog’s tolerance for handling these sensitive areas.
Step 2: Detangling and Line Brushing (Before the Bath)
Brushing before bathing is essential. Water tightens knots and mats, making them harder to remove. For most coats, we do a pass of strategic brushing first.
Line Brushing Technique
- Section the coat: Start at your dog’s lowest area (often feet or belly) and work upward in horizontal “lines” or bands.
- Lift and brush: Use a slicker or pin brush. Lift the coat above your working line, then brush the hair beneath it until the skin is visible. This ensures you reach down to the root.
- Comb to confirm: After brushing a section, run a stainless steel comb from root to tip. If the comb snags, keep brushing that section.
- Be gentle: Support the skin with your free hand when working sensitive spots like armpits, behind ears, and tail base.
Humane De-Matting Standards
- Assess severity: Small, surface mats can often be eased out with a slicker, detangling spray, and patience.
- Time limit: Pro groomers use humane limits because prolonged de-matting hurts. If mats are tight to the skin or widespread, a shorter haircut may be the safest option.
- Avoid pulling: Never rip mats out. Use short, gentle strokes and detangling product. Hold hair above the mat to reduce skin pull.
Step 3: Nail Trimming and Paw Care
Nail care is a cornerstone of dog comfort. Here’s the technical breakdown:
- Know the quick: The quick is the living tissue that supplies blood to the nail. In light nails, it’s pink; in dark nails, it’s hidden. Trim slowly and in small increments to avoid hitting it.
- Angle and length: Trim at a slight angle to mirror the natural curve, leaving a safe margin before the quick. Frequent trims help the quick recede gradually.
- Dremel finish: Filing smooths sharp edges, helpful for dogs who scratch easily or have sensitive skin.
- Dewclaws: Don’t forget them—these grow quickly and can curl into the skin if ignored.
- Paw pads and feet: Trim excess hair between pads to improve traction and cleanliness. Round the feet neatly without removing protective toe hair excessively on breeds that need it.
Step 4: Ear Care—Clean, Don’t Overdo
- Gentle clean: Use a dog-safe ear cleaner. Moisten a cotton pad and wipe the outer ear and folds you can see. Do not insert swabs deep into the ear canal.
- Dry thoroughly: Moisture can contribute to ear issues. Dry ears gently after cleaning and after baths.
- Plucking policy: Some breeds grow hair in the canal. Many groomers avoid routine plucking unless directed by a veterinarian or if hair is clearly trapping debris. If you see redness, swelling, heavy odor, or discharge, consult your vet.
Step 5: Pre-Clip Sanitary and Hygiene Trim
Before the bath, it’s common to perform a quick hygiene tidy for comfort and cleanliness.
- Sanitary trim: Typically done with a safe blade length (e.g., #10) for the groin and under-tail area to keep waste from clinging.
- Pads and corners: Carefully trim hair between pads; watch for webbing and skin folds.
- Armpits and belly: Light thinning to prevent friction sores and matting in high-motion zones.
- Safety first: Keep skin taut and tools parallel to the body. Avoid steep angles and never “dig” with a clipper.
Step 6: Bathing—Technique Matters
Clean skin is the foundation of a great groom. Technique, product choice, and rinse quality matter more than fancy labels.
- Water temperature: Lukewarm water protects natural oils and keeps your dog comfortable.
- Wet to the skin: Double coats and dense curls need slow, thorough saturation. Part the hair and massage water in.
- Shampoo dilution: Many professional shampoos are concentrated and designed to be diluted; this helps distribute product evenly and rinse out fully.
- Contact time: Let shampoo sit for 3–5 minutes to lift oils and debris. For deodorizing or deep-cleaning formulas, follow label directions.
- Face washing: Use a tearless product around eyes and muzzle. Apply with a damp cloth to avoid soap in eyes or nostrils.
- Rinse, then rinse again: Rinse until water runs clear and the coat squeaks lightly. Leftover product can cause itchiness.
- Conditioner strategy: Conditioners add slip for brushing and protect coat integrity. Work from mid-shaft to ends first, then lightly at the roots.
Step 7: Drying—From Towel to Fluff
Drying is where the finish comes alive. It’s also where many dogs need the most reassurance.
- Towel blot: Press and blot—don’t rub. Rubbing can tangle hair and create friction.
- Ear protection: For noise-sensitive dogs, use happy hoodies or cotton to muffle dryer sound.
- HV dryer technique: Start at a lower setting, keeping the nozzle moving and angled with the coat growth. Avoid blowing directly into ears, eyes, or sensitive areas.
- Line drying for curls: Use a slicker and gentle stretch to “fluff dry,” straightening curls for an even haircut later. Dry in sections until a comb glides from root to tip.
- Double coats: Blow out undercoat in the direction of growth to lift dead hair. Focus on friction zones—collar area, rump, and thighs.
Step 8: Coat-Specific Techniques
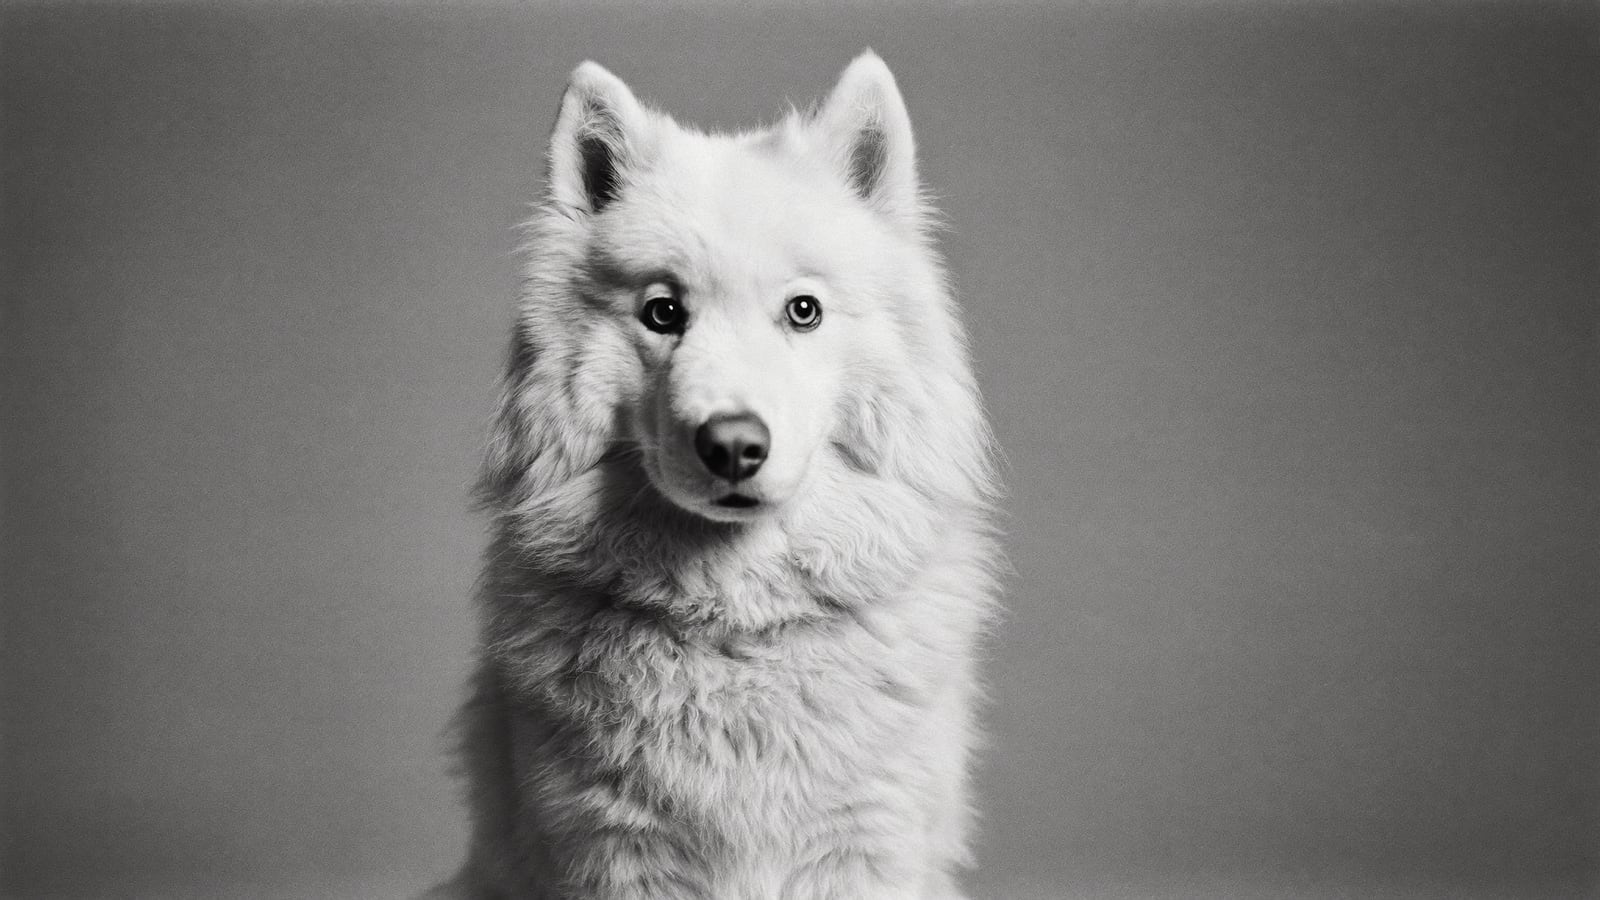
Double-Coated Breeds (e.g., shepherds, huskies, many spitz types)
- Goal: Remove dead undercoat, not topcoat. Healthy topcoat protects from sun, heat, and moisture.
- Tools: Undercoat rake, coat rake, slicker, stainless steel comb, and carding tools. Use light, even pressure.
- Carding: After the bath and during drying, card the coat to pull out loose undercoat. Work with the grain to preserve topcoat texture.
- Avoid close shaving: Shaving can damage coat quality and interfere with temperature regulation. Ask your groomer about de-shedding treatments instead.
Curly and Wavy Coats (poodles, doodles, bichons, water dogs)
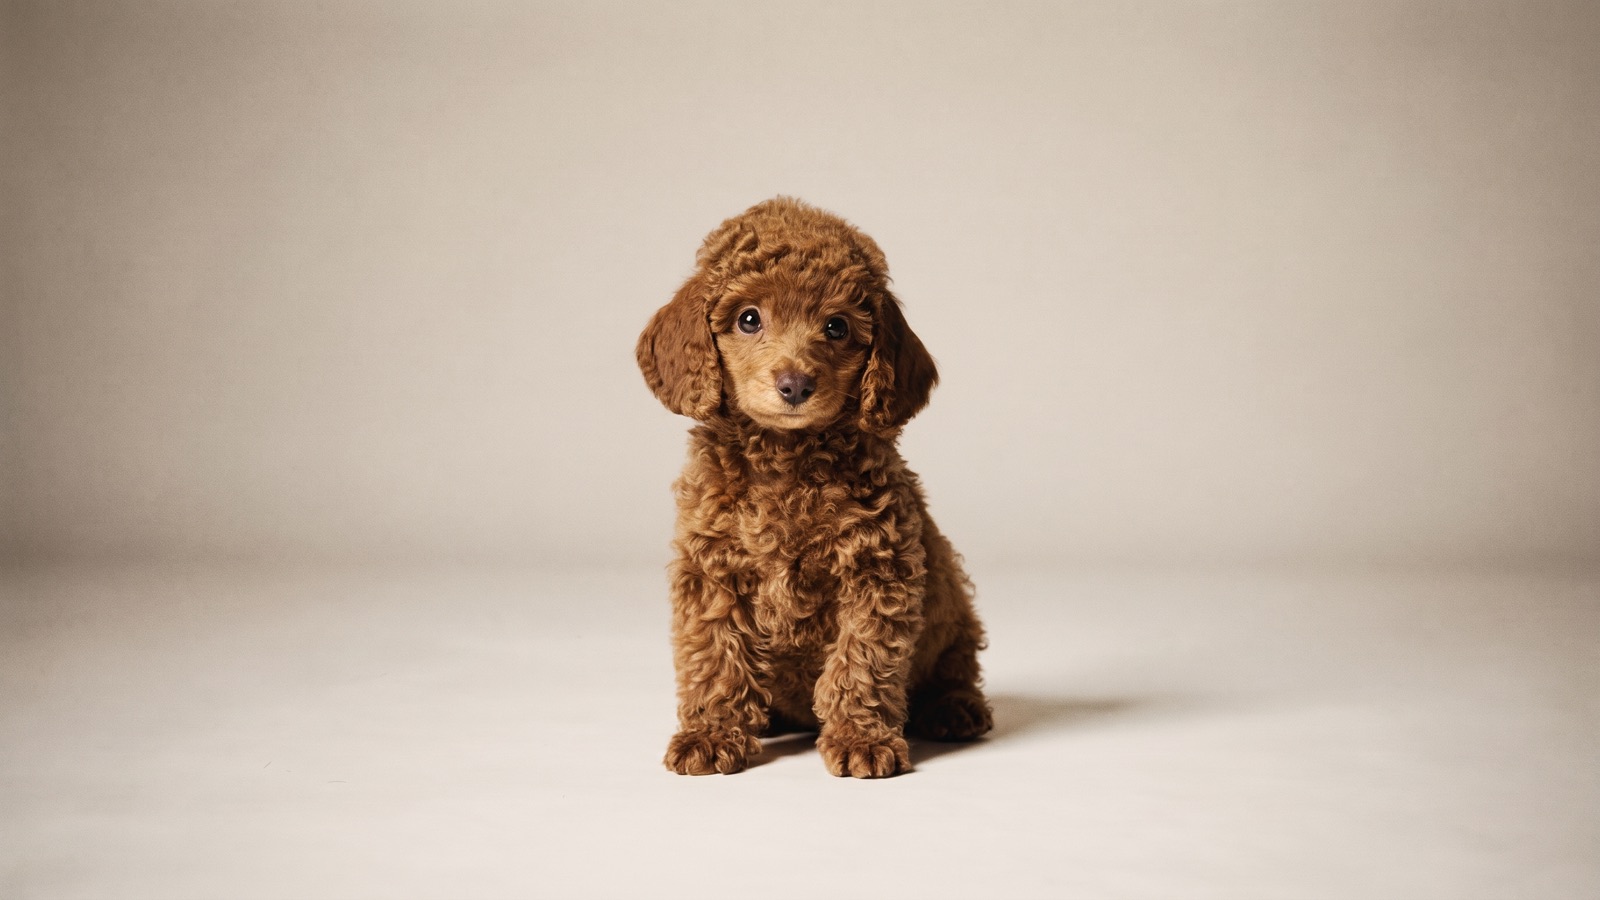
- Prep is everything: Thorough line brushing and combing before and after the bath. Fluff dry straight for an even clip.
- Guard combs and scissoring: After straightening, use attachment combs for length (e.g., 3/4”, 1/2”, 3/8”), then scissor to refine, especially on legs, head, and tail.
- Mat prevention: Daily to every-other-day brushing at home, especially in collars/harness zones, armpits, ears, and tail base.
Smooth and Short Coats (labs, beagles, boxers)
- Shine and skin health: Rubber curry and gentle brushes stimulate the skin and remove shedding hair.
- De-shedding baths: Formulated shampoos and conditioners help loosen undercoat; follow with a thorough blowout.
- Finish: Wipe with a soft cloth to lay coat and add luster; check nails and ears every visit.
Wire/Harsh Coats
- Texture preservation: Some breeds traditionally benefit from hand-stripping to maintain harsh texture. Discuss with your groomer which techniques they provide and what’s most comfortable for your dog.
- Blended approach: Many pet trims use a mix of carding, thinning shears, and guard combs to maintain a tidy look while keeping sessions low stress.
Step 9: Haircut Mechanics—How Pros Set Lines
Professional trims are planned. Here’s how groomers approach balanced style and safety.
- Blade and comb choices: Common body lengths include guard combs over a #30 or #40 blade for safety, or finishing blades like #4F, #5F, or #7F depending on coat condition and desired length.
- With the grain vs. against: Clipping with the coat growth gives a softer, longer finish; against the grain is shorter and can show more lines. Many pet trims are with the grain for a plush look.
- Setting lines: Define neck, shoulder, and ribcage transitions first. Mark the underline (belly), skirt (if applicable), and rear angles before detailed scissor work.
- Head and face: Scissor around eyes with extreme care. Use thinning shears for natural blends on cheeks and brows. Keep hair clear of the inner corner of the eye to reduce irritation.
- Feet and legs: Comb up and scissor down to create cylindrical or tapered legs, depending on breed standard or owner preference.
- Tail and ears: Comb through completely, remove knots, then thin and shape. Avoid thinning shears near the ear leather edges.
- Delicate zones: Tuck-up, armpits, and flank skin are thin—use guarded tools, slow strokes, and keep skin supported.
Step 10: Finishing Touches and Quality Control
- Second pass combing: A full-body comb ensures no hidden tangles remain and reveals areas that need touch-up scissoring.
- Final sanitary and paw check: Re-check hygiene areas, paw pads, and nail edges after the haircut.
- Whiskers and preferences: Ask about your preference for whiskers; many owners request they be left intact for sensory reasons.
- Fragrance and bandanas: Optional, light finishing sprays; always skip fragrance if your dog is fragrance-sensitive.
- Report card: Notes on coat condition, behavior comfort, and any findings help plan the next visit.
Puppy Grooming: Building Positive Associations
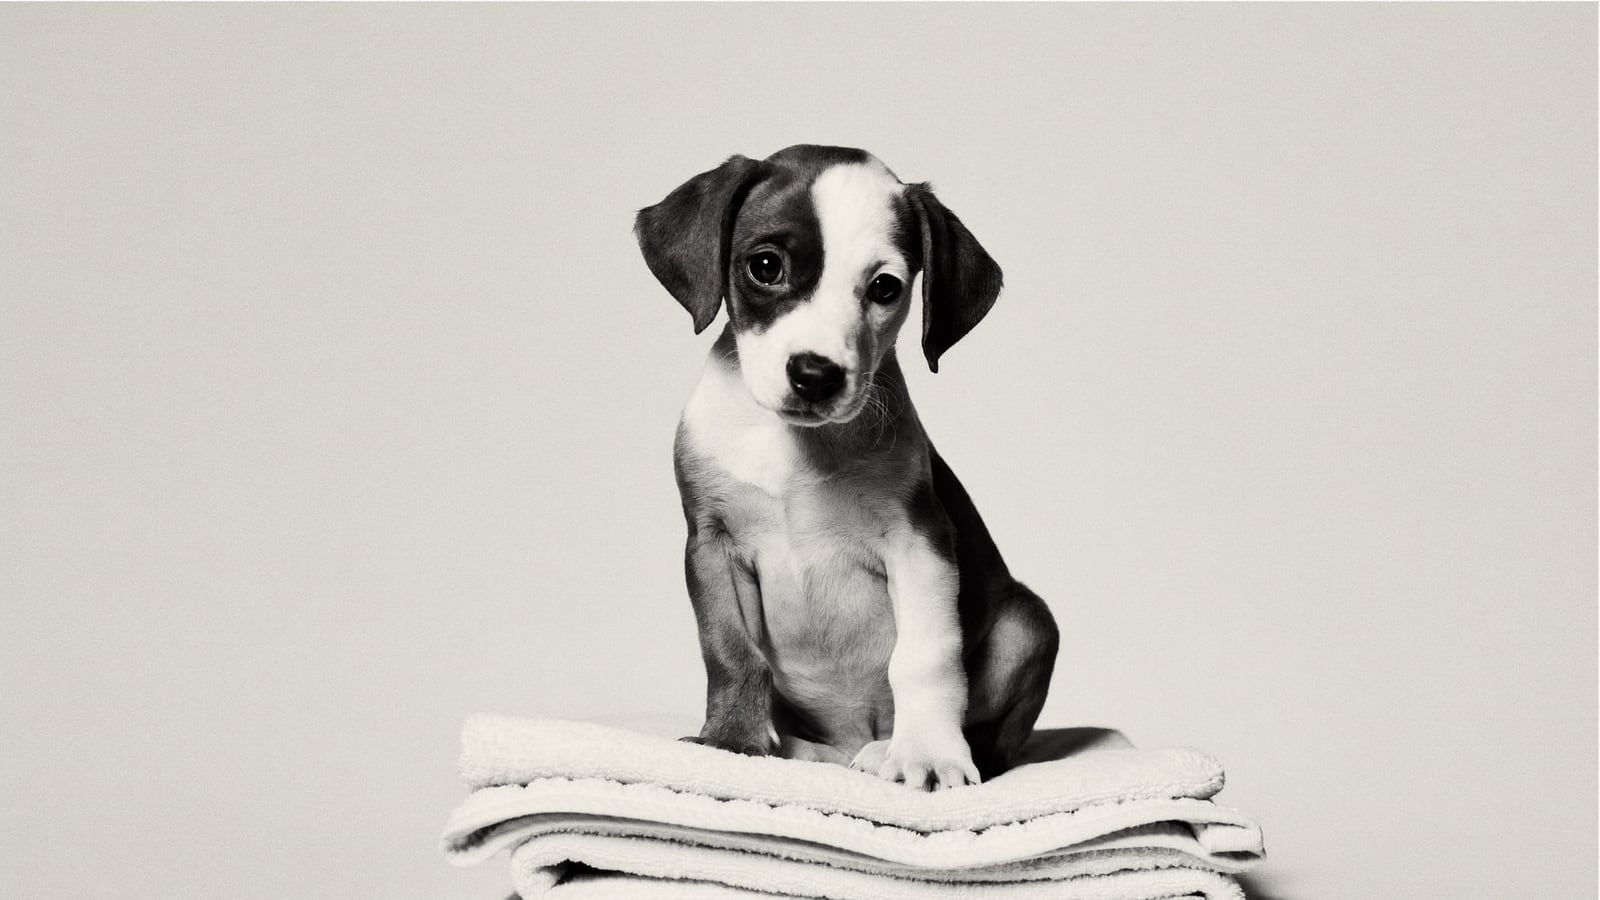
Puppies don’t need a full makeover on their first day. The goal is confidence. At Dapper Doodle Grooming, puppy introductions are short, upbeat, and structured.
- First visits are short: A bath, gentle blow-dry, nail trim, face/feet/sanitary tidy, and lots of praise. End on a positive note before your puppy gets tired.
- Noise desensitization: Introduce clippers and dryers gradually; start at a distance and reward calm curiosity.
- Handling practice: Ears, paws, tail, and mouth gently held and released with treats to build trust.
- Schedule: Every 3–6 weeks during the first year to cement grooming as a normal, happy routine.
- Home prep: Short daily brushing sessions and calm stand-stays on a non-slip mat teach your puppy the “grooming pose.”
Senior Dog Grooming: Comfort and Safety First
Older dogs deserve extra care. Senior dog grooming prioritizes gentle handling, shorter sessions, and ergonomic support.
- Low-stress setup: Non-slip mats, slower dryers, and minimal table time.
- Frequent breaks: Sit or lie-down options during drying or scissoring as needed.
- Nail and foot care: Regular, small trims to improve comfort and mobility.
- Warmth and hydration: Keep seniors comfortably warm after baths and offer water breaks.
- Communication with your vet: If your dog has arthritis, heart conditions, or skin issues, share care instructions with your groomer for a tailored plan.
Between-Groom Care: How to Keep Coats Healthy
Consistency prevents mats, skin irritation, and stress. Here’s a maintenance guide by coat type and lifestyle.
Curly/Wavy Coats and Doodles
- Brush/comb: 4–7 days per week. Line brush with a slicker; confirm with a metal comb reaching skin level.
- High-friction zones: Focus on collar/harness rub areas, armpits, behind ears, and tail base.
- Groom frequency: Haircut every 4–6 weeks. Longer styles require more frequent home brushing.
Double Coats
- Blowouts: Plan de-shedding visits every 6–10 weeks, especially during seasonal sheds.
- At-home tools: Undercoat rake weekly; use a slicker in dense areas, and follow with a comb.
Smooth/Short Coats
- Rubber curry: 1–3 times per week to remove dead hair and distribute natural oils.
- Bath cadence: Every 4–8 weeks depending on activity level and skin sensitivity.
Universal Care
- Nails: Trim every 2–4 weeks, or as soon as you hear clicking on floors.
- Ears: Quick check weekly; clean gently as needed.
- Teeth: Daily brushing is ideal; ask your vet about appropriate dental routines.
Stress-Reduced Grooming: Techniques We Use
- Predictable routine: Dogs relax when they know what’s coming. We follow a consistent order of operations.
- Calm handling: Steady hands, soft voice, and clear body positioning. No rushed movements.
- Tool selection: Quieter dryers, guarded blades, and appropriate combs to match your dog’s skin sensitivity.
- Breaks and rewards: Short rests, licky mats, or brief sniff breaks as appropriate for the dog.
- Clean, safe environment: Sanitized equipment and non-slip surfaces help dogs feel secure.
When to Call Your Groomer or Vet
- Call your groomer: New mats you can’t brush through, excessive shedding, overgrown nails, or if you want to adjust the haircut plan.
- Call your vet: Persistent ear odor or discharge, red/inflamed skin, sudden hair loss, open sores, or limping. Groomers support comfort and cleanliness; medical issues require veterinary care.
Choosing Professional Dog Grooming in Springfield, MO
Look for a team that communicates clearly, prioritizes your dog’s comfort, and explains their process. At Dapper Doodle Grooming, our dog-first approach emphasizes gentle, low-stress care, clean and calm spaces, and expert techniques for every coat type—from puppy introductions to senior dog grooming and full-service trims. We’re local to Springfield, Missouri and love helping dogs look and feel their best.
Sample Grooming Checklists for Detail-Oriented Dog Parents
Pre-Visit
- Bring a photo of your preferred length and style.
- Share behavior notes (noise sensitivity, anxiety triggers, favorite rewards).
- Tell us about any recent vet care or changes in mobility.
At Home Between Visits
- Brush/comb with line-brushing technique at least several times weekly (daily for longer styles).
- Wipe paws after walks to reduce debris buildup.
- Check nails every 2–4 weeks; schedule a quick nail trim if needed.
Frequently Asked Technical Questions
How do I know if brushing is reaching the skin?
After brushing, run a metal comb from skin to tip. If it glides smoothly with no snags, you’ve reached the root. If it catches, continue sectioning and brushing in smaller “lines.”
Why do groomers avoid long de-matting sessions?
Prolonged de-matting pulls skin and can cause discomfort or skin irritation. A shorter, comfortable trim may be safer and kinder for heavy matting.
What’s the difference between a de-shedding treatment and shaving a double coat?
De-shedding loosens and removes dead undercoat while preserving protective topcoat. Shaving removes both and can damage coat quality and interfere with natural insulation.
How often should my dog get a professional bath and blowout?
Most dogs benefit from a professional bath and blowout every 4–8 weeks, depending on coat type and lifestyle. Double-coated breeds often need targeted de-shedding every 6–10 weeks, especially during seasonal sheds.
Ready for a Calm, Professional Groom?
If you’re in Springfield, MO and want a groomer that values technique, comfort, and clear communication, we’d love to meet your dog. Visit us at Dapper Doodle Grooming, 1929 E Independence St, Springfield, MO 65804, call (417) 496-1588, or book online at dapperdoodlegrooming.com. Whether you need a full-service dog grooming session, a bath and blowout, a de-shedding treatment, a puppy introduction, or senior dog grooming, our team is here to help your dog look great and feel even better.
The Takeaway
Great grooming is methodical, humane, and tailored to your dog’s coat, skin, and temperament. With thoughtful prep work, proper bathing and drying, coat-specific techniques, and careful finishing, your dog leaves feeling comfortable and looking beautiful. At Dapper Doodle Grooming in Springfield, Missouri, we combine professional expertise with a calm, dog-first philosophy—so every visit feels like a win for your best friend.